
The Photinia Top & Dress is a wonderful pattern for beginners, however the bias binding can be a bit tricky to attain. If you have problems assembling the bias binding finish, the elastic neckline option is a fast and simple alternative to the gathering and binding process. It also allows you to style your Photinia classically or below your shoulders!
ELASTIC NECKLINE OPTION
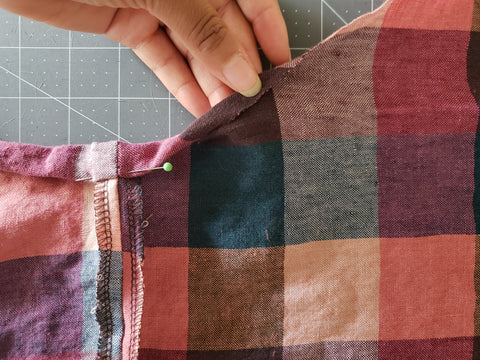
Sew your pattern according to the first step. Make sure you are marking your front and back and sewing the shoulder seams before doing the following steps in this post.
Fold the edge of the neckline to the wrong side by 1/4". Fold again by the width of your elastic + 1/8" (ex. if your elastic is 1/2", you'll fold your elastic by 5/8" the second time). Press and pin your channel in place.


Starting at the center back or at one of the shoulder seams edgestitch along the inner folded edge of the channel around the full neckline. Leave a 1-2" gap between the beginning and end of your edge-stitching.

Measure your elastic around your shoulders to find the length of your elastic. Attach the elastic to a safety pin and pull it through the opening until it comes out from the other side. Try your top on and make sure the fit works for you, then overlap the ends of the elastic and sew with a zig zag stitch.

Edgestitch the channel gap closed.


Finished! Throw your Photinia on and style it as usual...

Or like so...

Like this look? Comment below! If you try this hack tag me @FibrAndClothStudio and share this hack under the hashtag #FCPhotinia! Happy making!